I wrote a post a couple of weeks ago called How to Setup an RV Campsite (riveting title, I know!), and it dawned on me that I never even mentioned one of my favorite RV hacks – the setup bin!
Maybe this will be a shorter than normal post…I’m sure there’s more than one of you thanking your lucky stars for that!!!
So what is in our setup bin and how did it come to be?
MY FAV RV HACKS – SETUP BIN
We bought our RV in early 2017 and as most people do, we had to jump right in and figure out what worked for us. This is how our setup bin came to be.
A few weeks before we went camping for the first time in our sparkly new RV, I went on a mad scurry to get all of the things we needed for our first few trips (I did a post for that, too called RV Equipment – Things to Buy Before Your First Trip). I’m good at titling these things, huh?! LOL!
Anyway, there was so much stuff to store in our cargo hold that I knew I’d never reach any of it with my little T-Rex arms if we didn’t organize it all in some way.
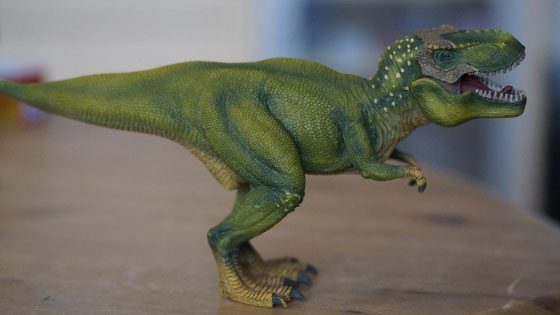
Actual picture of me trying to reach into the camper with my little arms! 🙂
That’s how the setup bin got started. Glynn went to the nearest Dollar Store and bought about 4 medium sized laundry baskets. I was able to take all of that STUFF (we’ve abandoned about 50% of that junk now…check that out in THIS POST).
WHAT’S IN THE SETUP BIN?
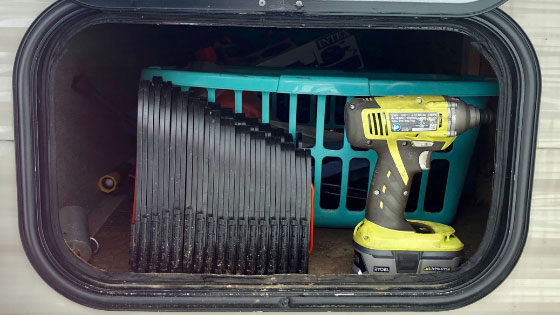
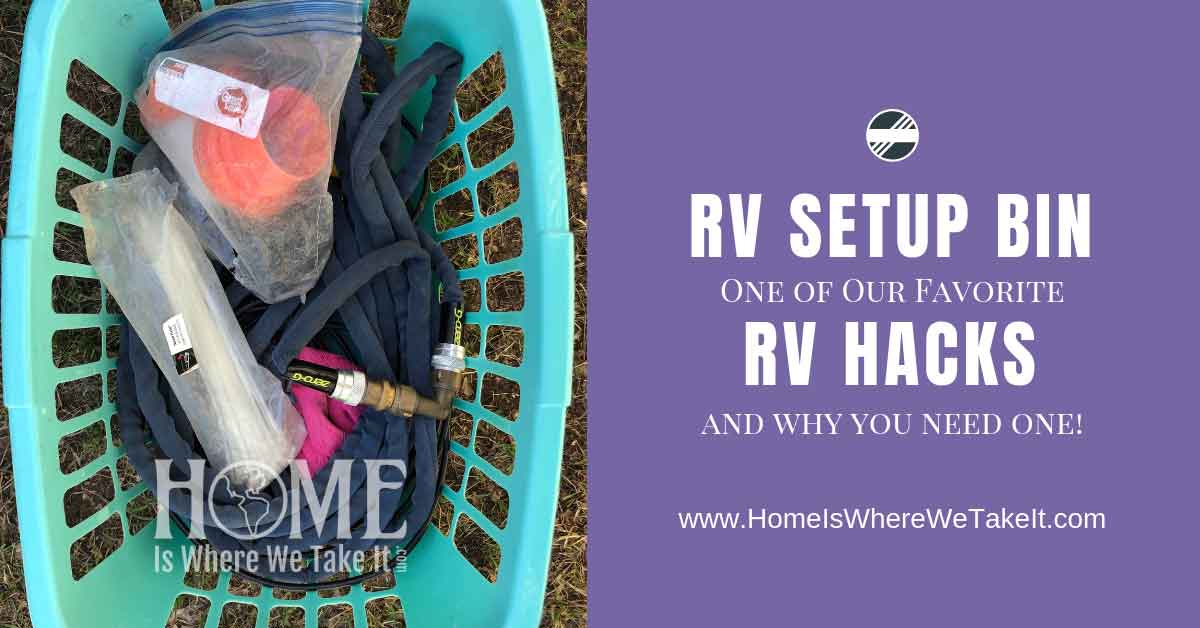
This is the bin inside the camper.
Obviously, each RV will be different in ALL of its setup gear, but we all have to do similar things like detach from the car or detach the car itself, level the RV, hookup water and electricity, and hookup sewage hoses.
When we get to the campground, the first thing we do is pull the setup bin out and take out what we need. Here are the items we keep in ours:
- Surge Protector (the link is for a 30 amp, here is a 50 amp)
- 30 to 35 amp Adapter
- 15 to 30 amp Adapter (for plugging the camper into the house)
- Drinking Water Safe Water Hose (we actually keep two of these, one is strictly for our fresh water supply, the other is for general purposes)
- Water Pressure Regulator
- Water Hose Elbow
- Sewer Hose Adapter (stored safely in a sealed plastic bag…and yes, I would get a clear one if I had it all to do over again)
- Coaxial Cable (we also keep a connection adapter on the cord…you know…just in case!)
- Gloves (I actually bought rubber covered gardening gloves)
- Zip Ties
- Raincoat…because you never know! You don’t need a link for that, right?
WHY THIS IS ONE OF MY FAV RV HACKS
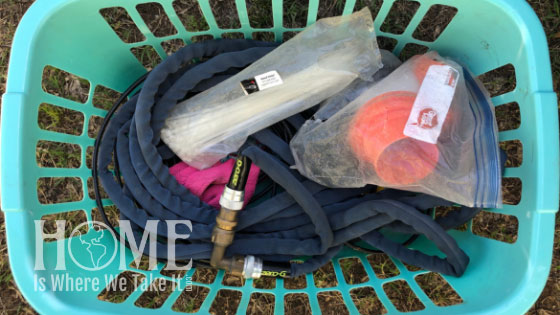
Some things are missing from this pic because the RV we set up when I took it, but you get the idea.
This one little bin set aside for helping us set up the RV just makes life so much simpler!
Since I’ve already written a post on how we set up, I’m not going to rehash that here. Feel free to follow the link above and read through that post.
Essentially, we just take the bin out of the storage hold and get to work setting up camp. Glynn detaches the camper from the vehicle and I pop the bin out and put it where we can both reach it.
I almost always take the surge protector (and any necessary adapters) out first and hook up electricity, then the water hose, then the sewer if available. If you look carefully at the list, this is really all we keep in our basket.
*As a side note, when we store the water hose, we keep the pressure regulator and water hose elbow attached to one end of the hose. We also always secure the hose to itself when we’ve emptied the water out of it. This keeps contaminants and bugs from getting in our water supply hose. You can see this in the picture above.
OTHER SETUP ITEMS
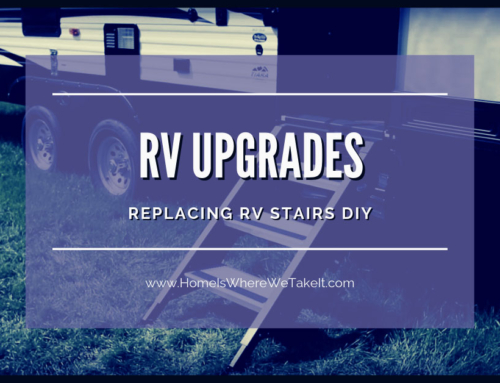
THE DRILL
You’ll notice that not everything we need for setup is in this bin. We’re missing one REALLY CRUCIAL item: our impact drill! We don’t keep it in the basket because we need it for various other things, but it is stored right in front of the setup bin with its sockets.
The drill allows us to quickly release our sway chains (not everyone needs these) and it also makes for VERY FAST manual leveling…which we have to do!
*Oh, one more quick note about the drill…we always use a quick release chuck on the drill. It just makes life easier.
LEVELING BLOCKS
We do have some leveling blocks but don’t use them every single time we camp. Because of this, I like to store them separately. I may eventually put them in the setup bin, but haven’t found the need yet.
Sometimes these end up inside the camper for easy access along with our level.
THE BRIDGE
Even though we DO use the sewer bridge almost every time we camp, it’s so cumbersome that I store it in front of the setup bin. It’s one of the last things to go in and the first to come out.
It’s WAY too bulky to put inside of the bin and makes it difficult to get the bin in and out of its little door. If I had a larger RV, I’d have a larger bin and this would be in it.
THE SEWER HOSE
This guy has its very own SPECIAL place! The sewer hose is safely stored inside our bumper! Yes, folks…that ugly square bumper has a purpose and it is storing your sewer hose.
I’ve mentioned before that we keep ours secured with magnetic bumper caps, but in case you’ve just met me…there it is. Ours have worn out over the two years we’ve had them, but they’re cheap.
THAT IT, FOLKS! That is one of my favorite RV hacks in 1,000 words or less!
We use this setup bin every time we set up and break down. It makes the whole process so much easier to do when everything has a place and everything is in its place!
Almost every one of our friends has some variation of this. Some of them have tubs for their sewer hose, others just have one huge tub for all of this stuff. It seems to be a necessary part of camping…especially for us!
Do you have any setup hacks that make the process easier? I’d love to hear them in the comments below!
SHARING IS CARING! If you found this post useful, pin it on Pinterest! 🙂

Did abt the same as you where boys were young. We camped at least every other weekend. No that we are older and can spare a little extra cash we get a room, and just pull the boat.
Thanks for your info and post like reading them.
We did a much simpler version when we had the popup camper about 100 years ago! 🙂 all we had to do was level and electric, but we kept it all in one place right inside the door. Thanks for the comment!!!
Great idea. We also created a setup and takedown board to make sure we did things in the right order. Learned that doing some stuff out of order can cause real havok.
That’s a GREAT idea, too!!! Since our camper is small, it’s hard to get it wrong, but I’d probably do that with a bigger rig for sure! Thanks for commenting! 🙂
Liked your idea. We have taken your idea up a notch by using separate totes for the electrical, water, sewer and leveling blocks/chocks. It allows us to pull out the tote as we progress through the setup