
Well…it seems like this would be a no brainer, but I thought back to the first time we took our camper out and thought, “yeah…we had NO IDEA what we were doing!” How to set up an RV campsite…this is serious stuff here! 🙂
The truth of the matter is campers do come with a manual, but it’s not always easy to understand and let’s be honest, are you really getting the manual out? I didn’t think so! We aren’t born with this info, but here’s another truth bomb for you…it ain’t rocket science! So let’s get to it!
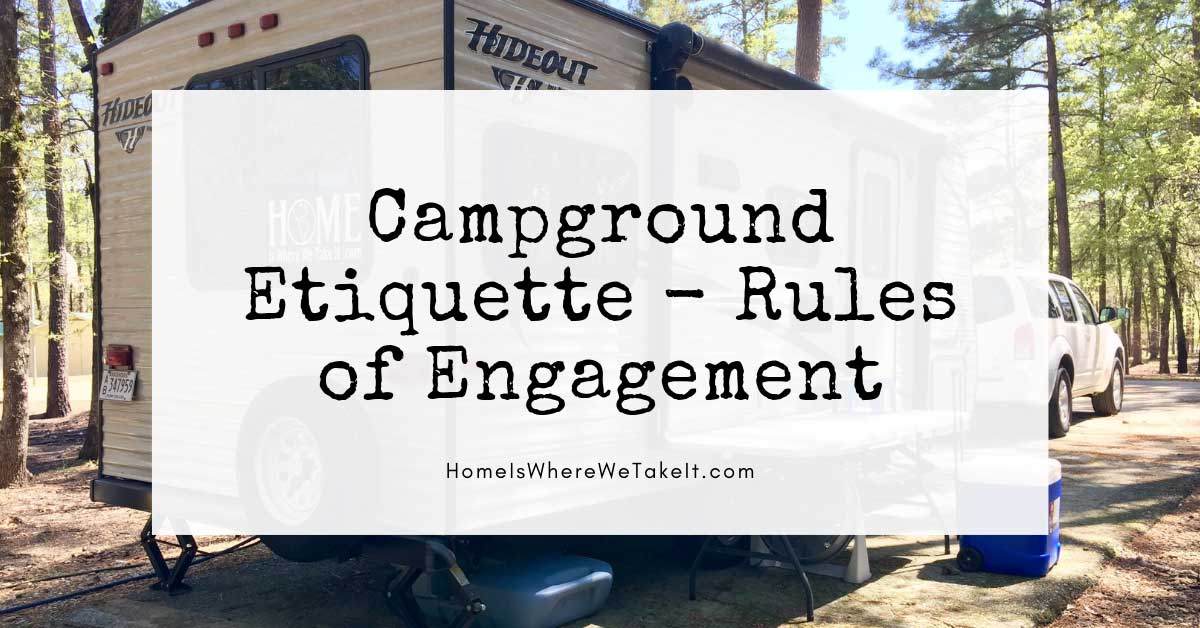
HOW TO SET UP AN RV CAMPSITE
THE CHECK-IN POINT
This also may seem like a no-brainer, but this one always stresses me out! I don’t have a lot to say about check-in points, but I do want to mention the process in case you’ve never done it.
Usually when you camp, the first step to set up an RV campsite is to check in. I know…CRAZY, RIGHT?!
When you pull into the checkpoint, there is always a place to pull over, pull in, or pull through for your RV. It’s almost always awkward (at least to me) but there is almost always a way to get turned around and headed in the right direction.
The RV park workers will give you the low down on the park, explaining where all the bathrooms and amenities are, then tell you how to get to your spot.
Easy enough! But what if I come in after hours?
GREAT QUESTION!
AFTER HOURS CHECK-IN
Each park is different when it comes to after-hours policies, so if you expect to arrive late, be sure to figure out the rules ahead of time.
The few we’ve seen so far look like this:
- Pay as you arrive in a drop box at the office BEFORE occupying any vacant site (pray for me as this one has one heck of a story with it that’s making my blood pressure rise as I type!)
- Occupy any vacant site, pay in the morning when the office reopens. The theory is that everything will work out one way or another…be willing to relocate spots if you’re staying for several days.
- Occupy certain sites, pay in the morning. I don’t remember where I saw this rule, but it was recent…like in the last day or two. The rules were to occupy sites 12-14 when arriving after hours. Square up in the morning.
- Occupy the site you have reserved, but still, check in first thing.
Nothing earth-shattering there. It’s a lot like getting a hotel room…except you’re driving or towing the hotel! Check-in is the easy part.
BACKING IN
There are two kinds of RV sites, pull-through, and back in. Let me tell ya, it’s worth the extra $27.50 (this is figurative…I’m exaggerating for dramatic effect) or whatever they want you to cough up to get the pull-through because backing these things in is just RIDICULOUS!
To me, this is the most difficult step of learning to set up an RV campsite.
Glynn has gotten much, much better at backing in, I have not. We used to end every camping trip (and let’s be honest, they pretty much began this way too) at the verge of divorce court due to words said while backing the camper.
Since we are still hashing this one out, I’ll add a YouTube link for you.
I skipped to the important part in this link…feel free to back it up and watch the whole thing. By the way, I hate Craig’s guts…just kidding…he’s the backup NINJA!!! LOL!
Here’s another great one:
This guy…ok…whatever. The scoop IS helpful though.
If you’re in a Class A, B, or C, there are plenty of videos on YouTube for that as well, but since most modern driveable RVs have backup cameras, I’ll skip the links. The backup camera gives you a HUGE advantage over travel trailers!
THE REST
From here, we only have a few basic steps to set up an RV campsite for both motorhomes and travel trailers. They break down like this:
- Detach – toad (towed vehicle) or camper
- Level the camper (make sure there is room to extend slides first)
- Extend slides
- Extend awning
- Water hookup
- Sewer hookup
- Electric hookup
- Cable hookup (if available)
- Setup any outdoor essentials
DETACH AND LEVEL
We do all of these steps to set up an RV campsite in pretty quick succession. It literally takes us about two minutes to detach the camper.
For us, this means we detach the safety chains from the bumper, detach the sway chains (or sway bars as your case may be), release the hitch coupler (the latch holding the camper hitch to the ball of the truck), roll down the jack, and jump on the back of the truck like a chimpanzee until it unlatches from the truck. We then pull the truck forward about a foot and remove the hitch from it. Be sure to lock your camper hitch so no one can steal it. (Refer to my list of RV essentials for links)
Level the camper tongue (levels front to back), then deploy the jacks beneath the camper (levels side to side). We use a drill for this process so that we don’t have to hand crank each jack. Refer to the link above for the tools we use. I know some of you have automated systems or hydraulic jacks…you’re on your own for that because we just have a simple manual leveling system, but there are tons of helpful videos on YouTube for that.
*One quick word to the wise, be sure you HAVE ROOM to extend your slideouts and awnings BEFORE you level, or you may have to redo the whole process. It’s not hard, but it sure SUCKS! We don’t have slides, but most of our friends do and we’ve heard the stories.
EXTEND SLIDES AND AWNING
Thankfully, all of the slides I’ve seen have a button you can push to make them extend. I have seen two of my friends have issues with their slides…but that’s for another post! Fixing it apparently involves a lot of swearing and sweating and I don’t like to do either of those!
Because of the troubles our friends have had, Glynn said if we ever get slides, he will keep a spare motor on hand. I don’t think he’s priced them, but we’ll cross that bridge when we get to it. The very LEAST I would do is keep some slide out lubricant on hand.
Next, extend your awning if it’s not storming outside! 🙂
I don’t always do this step right away. In fact, it’s often the last thing I’ll do. It just seems to get in the way otherwise.
HOOKUPS
ELECTRIC
Since we don’t have slides and I often don’t do the awning until I’m done, I’ll go straight for the hookups while Glynn is leveling.
I like to do electricity first since it’s usually hotter than the devil’s toenails in Arkansas (or anywhere else we travel for that matter)! We ALWAYS use our handy dandy surge protector that was more expensive than my first guitar! WHY are they SO EXPENSIVE?
If it’s air conditioner season (which is like March through October or November here), I run inside and turn on the AC.
WATER
Water is next since we’re getting older and have over-active bladders! TMI?! Yeah, I thought so! NEVER hookup without a pressure regulator. You just don’t want to have to make those kinds of repairs (blowing out valves in the camper) when you’re trying to have fun! Trust me, we’ve done it twice!
It’s important to note that if you’re dry camping (camping without full hookups), you should either fill up your water tank before leaving home or find out where the park’s water supply is before parking the camper.
Theoretically, you’ll have two water inputs. One will read “fresh,” or something like that, and the other will read “city,” or something like that. Fresh is your holding tank and city is for a running water hookup.
SEWER
For some unknown reason, my RV has two separate waste exits. One is for grey water (shower and sink water) and the other is for black water (toilet water). We keep ours hooked up to our grey water and keep the valve open on long trips.
Most of the time, we’ll close it a day or so before we leave so we can rinse the hose with grey water after dumping our black tank.
If you have one exit for all wastewater, it’s important to note to KEEP THE BLACK TANK VALVE CLOSED WHILE CAMPING!
There is a phenomenon called, “pyramiding” that you DO NOT want to happen. I’m sure you’re imagination can figure out what a pyramid is in reference to the black tank.
At any rate, I hook up our sewer hose to the appropriate outlet and double check both sides of the connection. I actually do like to screw in the connection to the ground hookup every time when possible. Experience has taught me that this is the best practice. Check out the craptastrophy posts.
This is also a great time to run inside and drop a deodorizing tab into the toilet and sink.
It’s also a great time to mention that if you intend to dry camp or boondock, you may need a portable waste tank. It’s easier to use one of those than to hook up your whole camper and move it just to dump the tanks.
CABLE TV
This is a great time to hook up the cable TV should you be lucky enough to have the service. We often camp in state parks where there is no cable provided. So sad!!!
There is usually an input port on the back of the camper, or in some other inconspicuous location, where you can hook up a coaxial cable.
When a park provides it, the output for cable is often on the power supply box. That’s where the other end of the coaxial goes.
*It might be important to note that we keep male to male adapters for our coaxial cable. I think there was a time we needed it and it came in a 2 or 3 pack. These can be found at Walmart near the TVs and is super cheap…but here’s an Amazon link just in case you don’t know what I mean.
Our friend brings his satellite antenna which has a similar setup (sorry, I have NO experience with this, but I know his system seems to work every time).
PROPANE
I almost forgot about propane!
In order for our hot water to work, we have to open the valve on our propane tank (outside of our camper) and flip a switch (inside our camper) to turn on the flow of propane to our water heater.
Your camper may be different, so this might actually be one time you’ll need to check the manual.
We can also use our propane to run our fridge, but we have only done this on really long road trips. It’s free to use campsite electricity and propane costs money! 🙂
SETUP OUTDOOR STUFF
At this point, the camper is pretty much set up. It’s time to put out the mat to keep dirt from entering the camper, scroll out the awning if you haven’t already, and set up any chairs you’ve brought.
We used to set up a small table against the RV as a catch-all, but it was a nuisance to store while traveling so we nixed it. The ice chest for drinks gets set up outside and we kick back to begin relaxing!
SHARING IS CARING!
If you found this info helpful, be sure to share it on social media! I’d sure appreciate it! 🙂

[…] wrote a post a couple of weeks ago called How to Setup an RV Campsite (riveting title, I know!), and it dawned on me that I never even mentioned one of my favorite RV […]