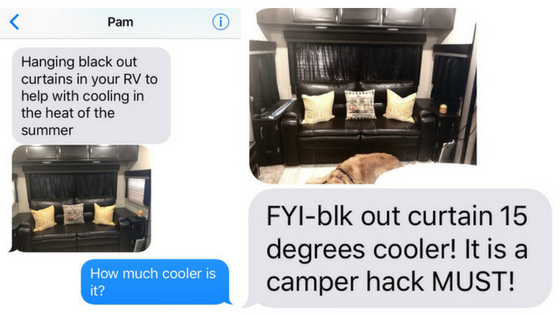
Since starting a blog, people often want to tell me what’s a great idea to blog about and most of them have NO IDEA what would REALLY make a great post! However, I recently had one of my very best friends and camping buddy text me and tell me she had added RV blackout curtains (DIYed) to her RV and that I should do a post.
Since I had considered doing it in my own camper, and it’s like 10 MILLION DEGREES in Arkansas right now, I thought that would probably be an AMAZING post!
So, cheers to my friend Pam and her FANTASTIC idea!!! 🙂
BLACKOUT CURTAINS DIY – SUPPLIES
- Tape Measure
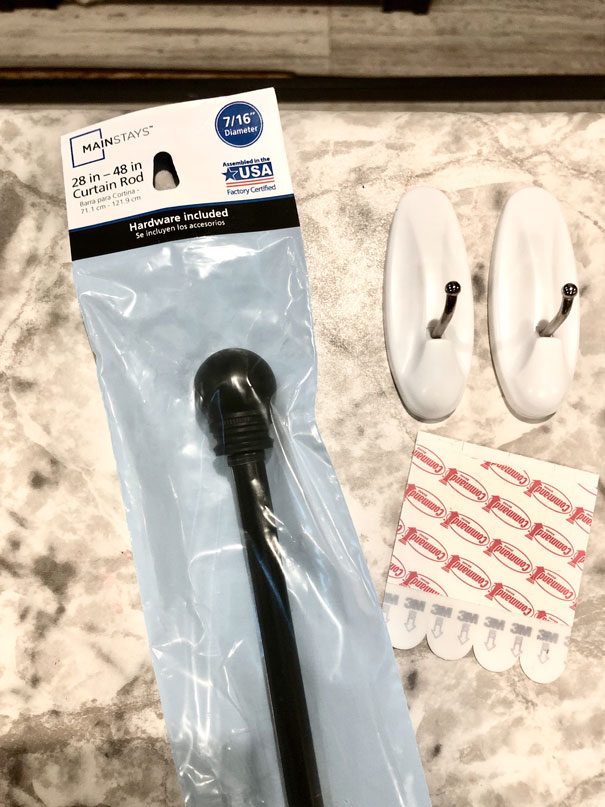
- Curtain Rods (I think this is the one my friend used, but if you want it to come to your house, it’ll cost a little more from Amazon!)
- Command Hooks and Strips Just make sure these are big enough to hold your curtain rods. These are pretty much a staple item for RVers anyway…you’ll need some sooner or later!
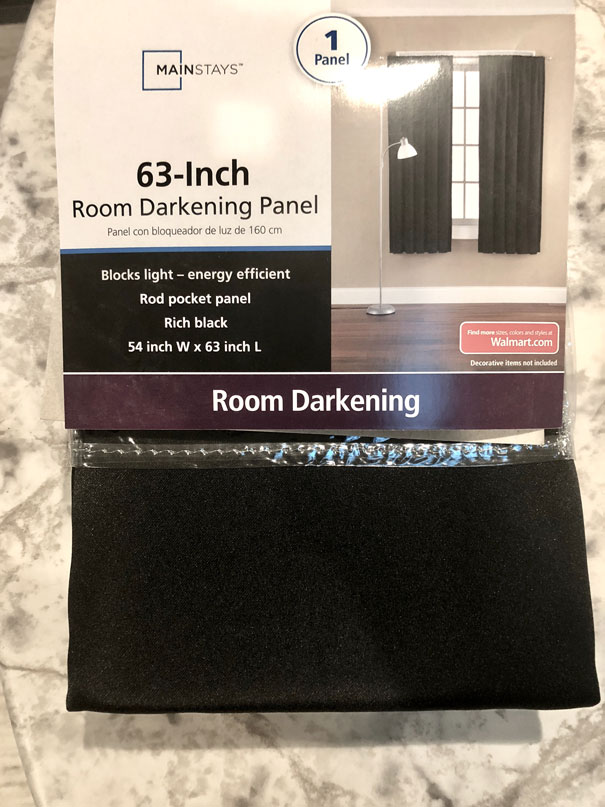
- Curtains (This is the one my friend used…either will work).
- Scissors (Not sure you need a link for that, but what the heck…you never know!)
BLACKOUT CURTAINS – STEPS
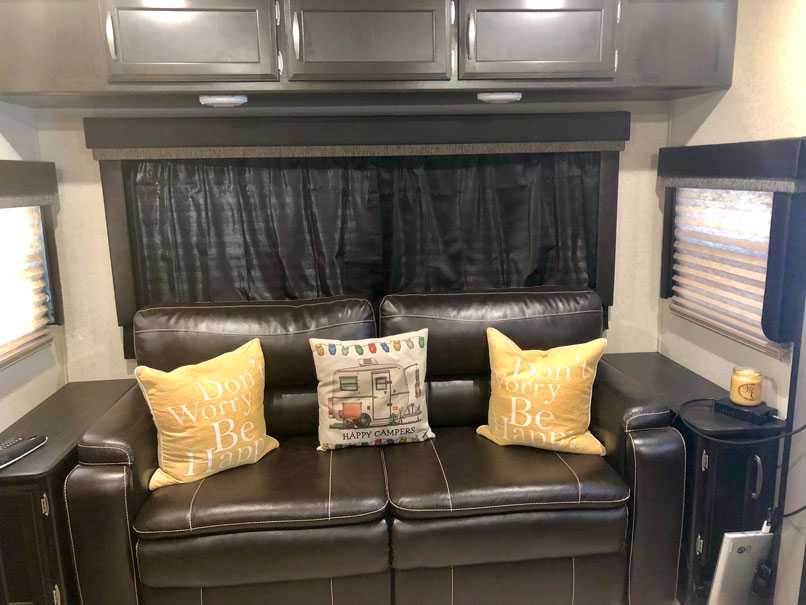
Before-ish! How about one down, two to go?
- To start your blackout curtains, you’ll need to measure your windows throughout your camper to see how wide and long your curtains will need to be (or just how wide the ones you want to blackout). Make sure the curtains you buy will cover the length and width of your windows. (To do what Pam did, you will want the curtains at least twice as long as the window because she cut hers in half.)
- Install Command hooks using the adhesive clips that come with the hooks. Use the rod to check for level…unless that kind of thing doesn’t bother you!
- Place curtain rod on the hooks (if you want the rods to stay still while traveling, you could try putting double sided tape, or carpet tape on either the rod or the hook.
- Cut the blackout curtain in half lengthwise and feed one of the cut panels onto the curtain rod. Repeat with the other half, hanging one side upside-down essentially.
- Rehang curtain rod.
- BOOM…You’re done!
- Repeat as needed for all the other windows in your camper.

I wish I had more steps or a funny story, but that’s really all there is to it! I will say that Pam told me the project for her whole RV cost her about $100. She has a TON of windows, though. She also told me that she was in a small town and the Walmart where she was shopping only had single panels for sale. Other WM stores have double panel packages for sale. She was just in a small town in rural Arkansas at the time. You get what you get when you’re in rural AR! LOL!
My only caveat is that I’m not sure about the Amazon curtains because I haven’t purchased them…I just looked for a highly rated curtain.
The curtains will have one unfinished edge. If you don’t like that, try ironing a crease into the bottom. Make sure to leave a pocket to slide the curtain rod into. Once you have a crease, use no-sew hem tape to fuse it together. VOILA!!!
I can’t wait to try this on my own camper! We have one window that is obnoxiously placed near the “head” of our bed and in DESPERATE need of something besides cheap mini-blinds!
If you want to see how we made better use of our under bed storage, check out this post.
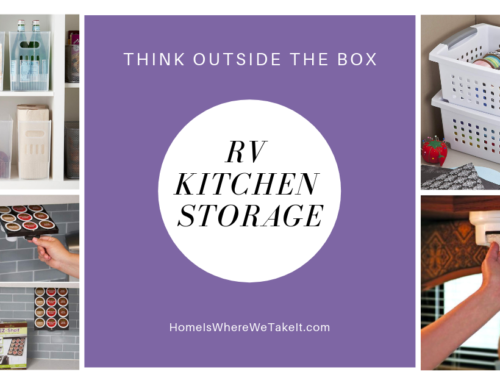
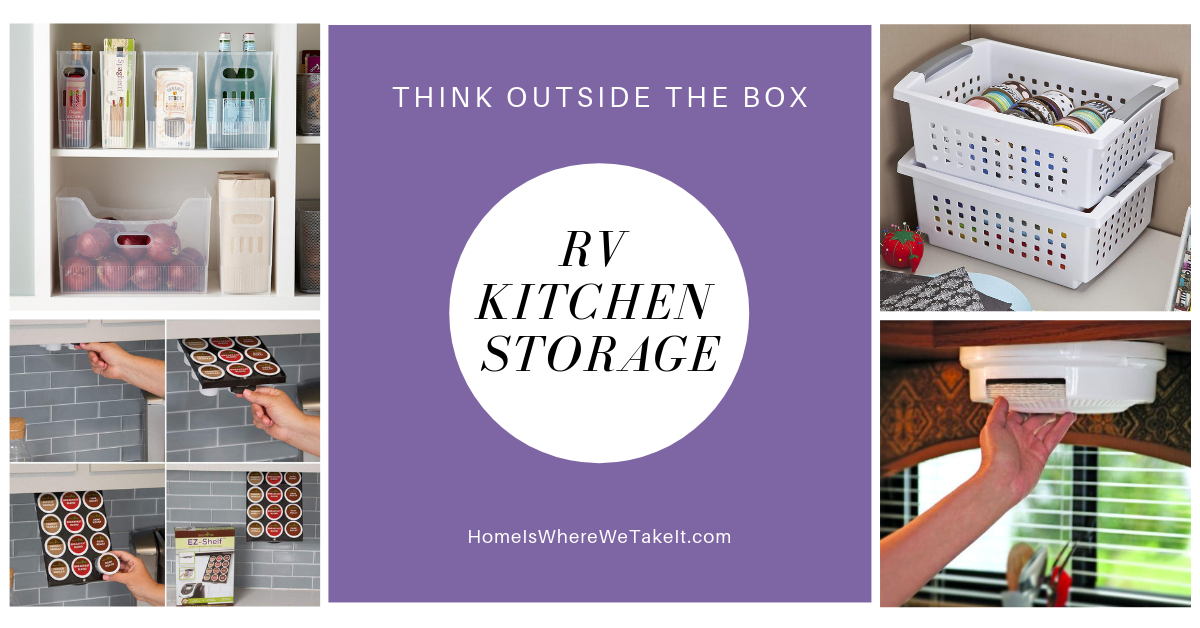
If you’d like some ideas on how to organize your tiny RV kitchen, check out this post.
Have you ever thought about starting your own travel blog? Check out this post!

Can you do a step by step pictures
I can do better than that! I actually shot video but didn’t like the way it turned out. I will do my best to get that video done ASAP and let you know when it’s done! It’s been obnoxious camping with two windows done and the rest not. 🙂
[…] as you can possibly get. Try adding color to make them feel homier. I have added some navy blue blackout curtains to mine and while I’m not TOTALLY in love with the color, I love their functionality. One […]
[…] also prompted the blackout curtains post! It also brought to mind the “burns with the light of a thousand suns” post I read way […]
[…] is the same friend I mentioned in the Blackout Curtains post. She’s full of GREAT […]
I did black out curtains like this..love them if it gets too hot you command strip might fall but far and few between…in winter these are great too after reflection is added under curtain..we use black out at front door …what a diffrence
Warning, I have done this and it works great. However, in your products picture you show “Room Darkening” curtains. That is NOT the same as “Blackout” curtains. Room Darkening curtains cut something like 95% or so of light, depending on the brand. Blackout curtains cut out 100% of light and are generally heavier with a coating on the back. Incidentally, I believe you want Blackout curtains. That’s what I used and they do in fact work great. They are also a little more expensive but definitely worth it.
I still don’t get how you cut the panels in half length wise and then used on upside down. I looked for your short video, but couldn’t find.
Hey Sharon! The panels had about a 2″ pocket on both the top and the bottom. Sorry about the video…I hate video editing with a passion and avoid videos at all costs. I just used cheap Walmart curtains that had wide top and bottom hems.