 So, you’ve bought your new RV (or car) and you’re ready to make it your own!? If you have a Cricut machine, the process is SUPER easy and is a great way to personalize your rig. Check out these simple vinyl projects.
If you’d rather skip the reading, check out my YouTube video on the project:
VINYL PROJECTS – MATERIALS NEEDED
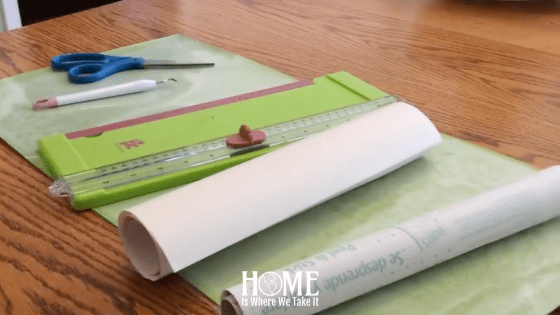
Materials needed:
- Cricut Machine – Cricut Maker or Cricut Explore Air (Maker is the newest version as of fall 2018)
- Cricut Cutting Mat (12″x24″…trust me, you’ll want the bigger ones and you’ll thank me for the two pack with your future vinyl projects!)
- Cricut Vinyl Transfer Tape – I actually use clear contact paper because I’m
cheapfrugal, it’s not the easiest medium to work with, but it’s cheap! - Cricut Weeder Tool – check your Cricut machine and make sure you don’t get one with the purchase of the machine.
- Vinyl – now, you can get as fancy as you want, but I found this cheap vinyl on Amazon and it’s held up perfectly! If you want to get serious about your vinyl projects, you can order a bundle of 24 colors of vinyl for about $45.
- Scissors – we’re gonna assume you have scissors. I use a craft paper trimmer, but it’s not necessary.
VINYL PROJECTS – DECAL SIZE
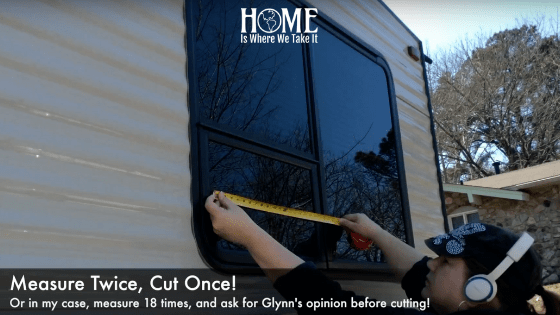
You know, they always say “measure twice, cut once”…yeah, do that! I do this whenever I’m starting any vinyl projects, even t-shirts! You need to know how large the area is that you’re going to cover. I couldn’t decide if I wanted to cover my whole back window or just a small corner of it.
My final decision was to just do the small window on the bottom right. The width of the whole window was 44″ and the smaller one was 22”.
Be mindful of the width and length of your vinyl. If your vinyl is 12″ x 19″, you shouldn’t design a decal larger than that or you’ll have to do some customization before cutting. This is over my head, but here are videos on YouTube for that!
My vinyl was 12″ x 6′, so I wanted to keep my decal within the 12″ width. That meant my final cut was going to be about 10″ tall by 21″ wide…perfect for my 22″ wide window!
VINYL PROJECTS – DESIGN YOUR DECAL
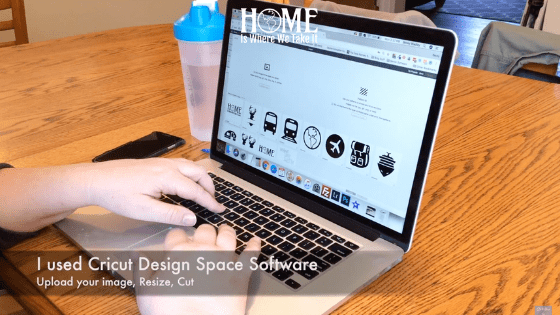
GOOD NEWS! Cricut’s design software is FREE!!! You’ll need to go to design.cricut.com and create an account or log in to your existing account.
The design space is pretty intuitive, but if you don’t understand it, there are lots of YouTube videos, just search “create vinyl decal” on YouTube. You can either upload a design you already have (like I did with my logo) or create one from scratch in the design space.
As a side note, NEVER pay for Cricut fonts! There is a great website for free fonts that have more fonts than you can ever use…EVER! Go to http://www.dafont.com/ and hunt through their repertoire of fonts*…really, it’s a MAGICAL place! I LOVE Dafont!
*If you find a font you like and install, you’ll have to save your project and restart your browser for Cricut design space to recognize the new font…you’ll also find your fonts under “system fonts.”
Keep in mind when designing your vinyl projects that you need to mind your measurements! Don’t let it get too big or too small. There’s a lined grid for you to watch to make sure you stay within your measurements.
VINYL PROJECTS – CUTTING THE VINYL
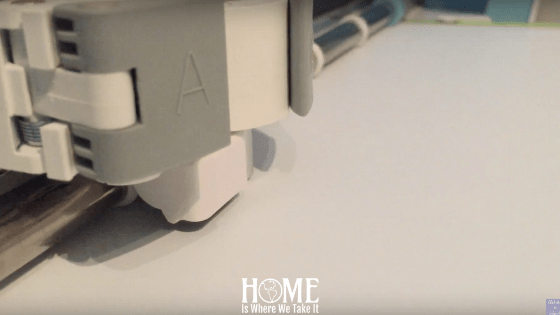
When you have your vinyl projects all designed and ready to cut, hit the “MAKE IT” button in the top right corner. The software will allow you to set up how close you want to put your design to the edges.
Make sure you put it on the edges on the cutting mat! You want it to stick around all the edges so that the vinyl won’t pull up when cutting. Also, make sure you have your vinyl cutting dial set to the right thickness of vinyl you’re using before cutting. Follow your on-screen instructions to cut.
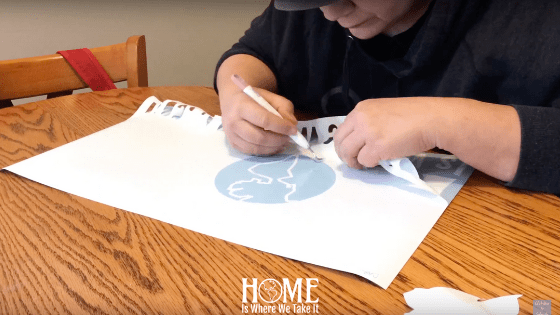
When cutting is finished, cut off any excess vinyl and weed (pull off) the unneeded portion of vinyl being careful to take off the centers of letters like A, O, R, etc. I like to do the small parts like this first. It makes the bigger chunks of scrap vinyl easier to remove.
VINYL PROJECTS – PREPPING THE VINYL
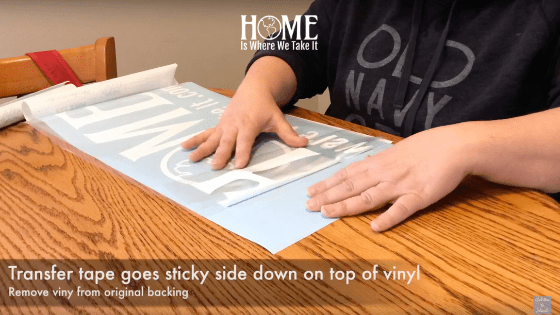
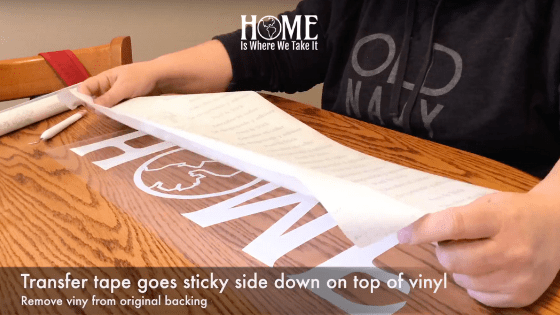
After you’ve cut your vinyl, you should be ALMOST ready to install it on your vehicle or camper. You have one last thing you need to do and that’s to take it off the cutting mat. You’ll need to get your transfer tape or contact and roughly cut it to size. Put the sticky side of the transfer paper onto the top side your cut vinyl.
When you have pulled your vinyl off of the cut mat, be sure to put the backing back onto your transfer tape, keeping it from sticking to itself.
Once you’ve done that, go to your RV or car window and clean the glass really well before adhering any of your vinyl projects to glass.
VINYL PROJECTS – INSTALLING VINYL DECAL
LAST STEP…YAY!!!
When you’re finally ready to install the vinyl to your car window, it might be easiest to have an extra hand available (especially if it’s a big decal).
I started with the bottom of the decal and lightly stuck it to the glass, leaving the transfer paper attached at the top. The trick is to attach only the bottom half…and just as lightly as possible so it is movable.
Then, I measured from the bottom of the decal to the bottom of the window to try to get it level. As soon as I was happy with the levelness of the decal, I lightly stuck the rest of it to the window and used a flat tool (yes, it was a spatula in the video…a girl’s gotta do what a girl’s gotta do!).
The last step is to pull off the transfer tape from underneath the vinyl (super carefully…I actually tore my logo, but it’s still fine even six months later), and admire your work!
This was one of my favorite vinyl projects so far. I loved it so much that I did it to my Nissan Pathfinder, too. Here’s a picture of it looking SWEET in Montana!
How about you? Have you ever put a large vinyl decal on a car or wall? What did you think…easy project or no? Let me know in the comments!






Leave a Reply