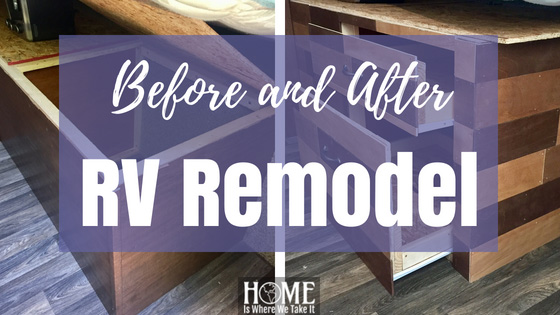
This past weekend, we had a random weekend off from camping and decided to do an RV remodel.
If I consistently hear one complaint about RVs, it’s about storage space and the lack thereof. Since we have a 21′ camper, let me just say, I FEEL YOUR PAIN! Fortunately for us, we only camp on the weekends…I think the lack of space in this little guy would drive me NUTS if we were in it full-time.
WHY WE DID OUR RV REMODEL
A few weeks ago, we decided to trade out the original camper mattress with a normal queen sized mattress. Of course, we’re both sleeping better BUT…accessing my laundry chute under the mattress became impossible when we put the real mattress on top of that cabinet.
This isn’t really a HUGE deal, but I’m a creative person and I find it stifling to have my laundry basket all up in my business during the day. We’ve tried putting it in our dining area, but that’s obnoxious when we want to chill. Then we moved it to the bed, which is obnoxious when you want to go to bed or take a nap. Same story with the bathtub.
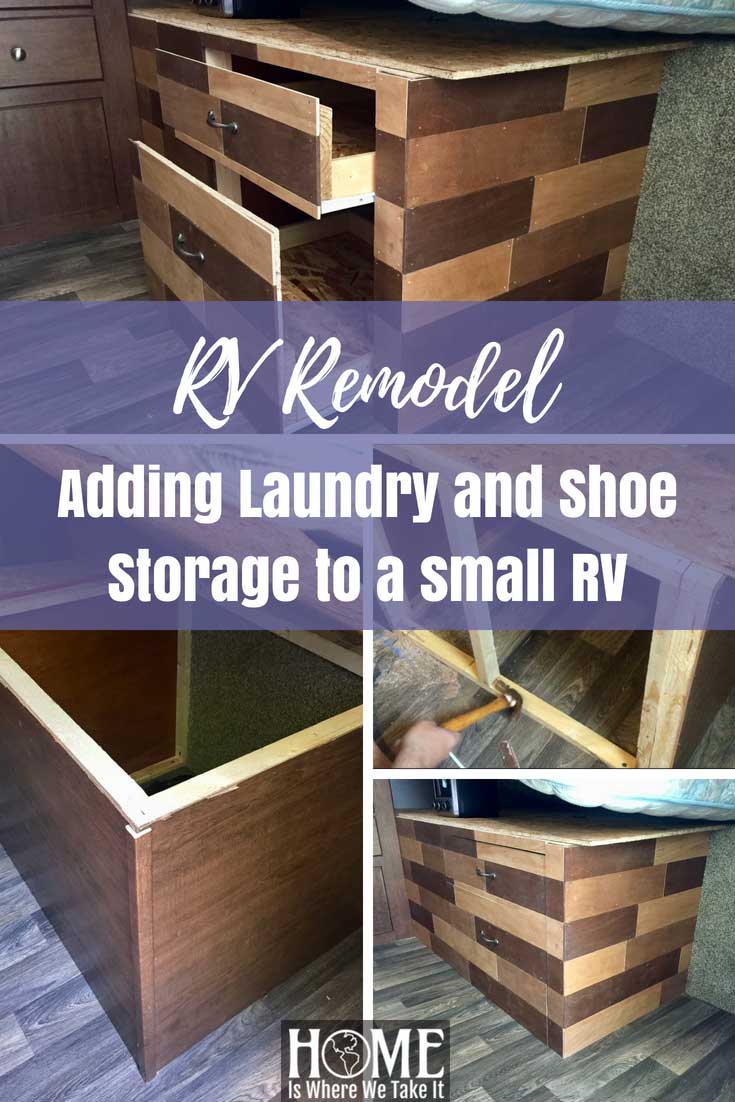
So what’s the solution? Time for an RV remodel! I asked Glynn if we could open up the cabinet to access it from the front and he agreed (MOSTLY). My idea was to open up the cabinet, then make some really basic drawers and put them on sliders, then make the whole thing super cute!!!
GET READY
This would be a PERFECT time for me to mention that we are not carpenters. We are novice DIYers with quite a bit of experience, but certainly NOT pros! Time to set up shop for this RV remodel!
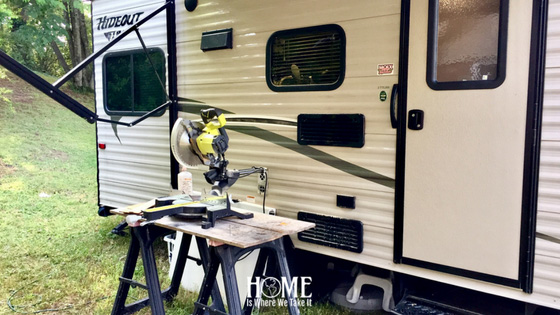
First things first, we just propped up the mattress then we brainstormed about how this whole thing was going to work and went to Lowes for supplies. About $75 later, we had our supplies and were ready to get started.
SUPPLIES:
- One 4′ x 8′ sheet of 1/4′ luan plywood
- One small (4′ x 4′ sheet) of OSB for the drawer bottoms
- One 8′ board of 1′ x 6″ for small drawer front and large drawer sides. *We used scrap wood
- 4-5 8′ 1′ x 2′ for small upper drawer sides and building out slider supports *We used scrap wood
- Latches to hold the drawers shut.
- Slider hardware
- Dark Walnut Stain – Minwax
- Natural Stain – Minwax
- Finishing Wax – Minwax
- Foam brushes
- Old t-shirt or towel to remove excess stain
- Laundry hamper to fit in the finished drawer (keep in mind height and width of finished space when buying hamper)
THE TEARDOWN
Once we propped the mattress up (you CAN take it completely off, but this thing is a BEAST!), Glynn removed the front panel with a circular saw. I’m sure you could use a jigsaw, but we had a Ryobi circular saw on hand (*important to mention we use a Ryobi 4 Ah 18V battery for longer battery life when using the saw or sander). We used a multi-purpose oscillating tool to finish off the parts where the saw couldn’t reach (*also important to mention we put tape on the floor to keep from scratching the vinyl).
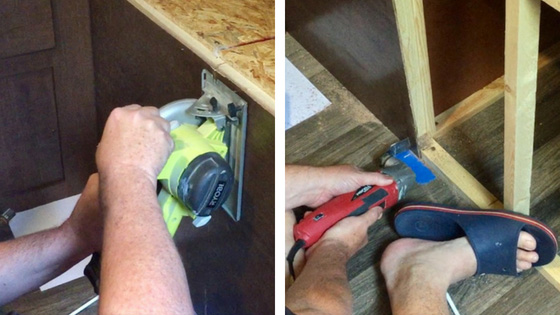
(Did I mention we’re not carpenters? Sorry if you are one…I know there MUST be a better way to do this, but not at our house!)
Once the front panel was removed, we took out the center support.
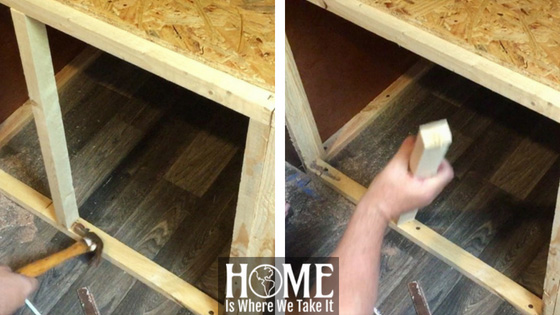
Sorry for the motion blur, I had to screenshot a video for this picture.
PREP THE PLANKS
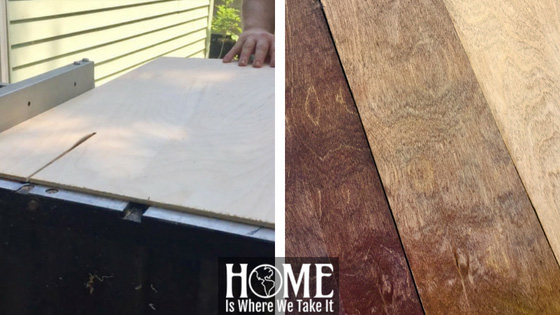
To make this RV remodel easier, we had Lowes cut the luan into 3 pieces that were roughly 32″ x 48″ (I drive a Pathfinder and it had to fit in the back for the ride home)! Since the cabinet was about 23″ tall, we knew we could get a great look with 4″ planks since almost 6 whole planks would barely fit. I sanded the edges, then split them into three groups and stained each group with different colors. Finish them off with a coat of polyurethane or finishing wax. Finishing wax is my preference…probably because I hate the smell of polyurethane.
The darkest color is Dark Walnut stain…we already had this on hand. My ratio for the Dark Walnut with the Natural was about a 1:3 or 1:4 ratio for the lightest color. I just eyeballed it, but if you can’t handle that, I get it…just use a 1/4 cup measuring cup and a plastic bowl or something. It won’t take much…maybe a cup to 1 1/2 cups of liquid altogether. In my EXTREMELY UNSCIENTIFIC style, I mixed what was left of the lightest stain with MORE of the Dark Walnut for the medium color. How do ya like THAT?! If I had to guess, I’d say a 1:1 ratio. It’s entirely up to your taste how dark you want the medium color.
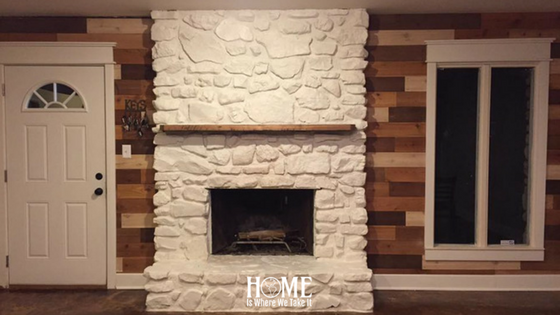
Here’s a pic of my inspiration wall in my den. In this pic, I used a similar method of coloring, but I used 4 different colors plus one whitewash. It was really 3 colors: white, natural, and dark walnut in varying ratios.
For my RV remodel, I stained the luan with a foam brush and wiped the excess stain with an old t-shirt. It’s important to note you should use gloves…not that I wouldn’t use them but should you not, the stain is REALLY hard to get off your hands <embarrassing blush>!
BUILD THE DRAWERS
Ok, I apologize. I don’t have pictures of us building the drawers. It was WAY past lunchtime and we were both getting hangry and just wanted to finish, but here is what we did. This RV remodel was getting the best of us at this point!
As per the directions for the slider hardware, the drawer should be 1″ less than the opening (BE SURE TO READ YOU HARDWARE INSTRUCTIONS). Our opening was 25.5″ wide, so our drawer width needed to be 24.5″. The depth of the cabinet was 23″ so the drawer needed to be less than that…we went with 22″ since we really didn’t have any guidance on that.
Got that? 24.5″ x 22″ length and width. Now for the height, the opening was 21″ tall. I thought that was FANTASTIC since it’s divisible by 3. The bottom drawer needed to be no taller than 14″ and the top no taller than 7″. Seeing as how a 1 x 6″ plank is 5.5″ wide, that would be perfect and it would leave space above the drawer, and below for the hardware.
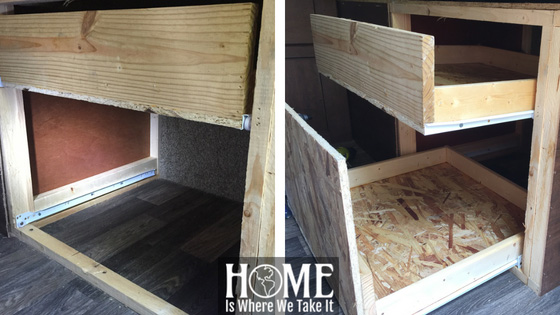
Glynn built the sides and back of the top drawer out of the 1×2″. He used the 1×6″ for the front of the drawer. If you’re not incredibly cheap frugal like us, you could use the 1×6″ for the whole drawer. I wanted to store shoes on it, so the depth wasn’t as important as just having the actual drawer. Also, if you’re a carpenter, do your thing…make this better and leave a pic in the comments. Maybe we’ll come to you and let you fix ours! LOL! The bottom was a 24.5″ x 22″ piece of OSB. Again, frugality won for this project. If you want to use plywood, that would probably be better.
The bottom drawer was built the same way except that we used 1×6″ for the sides of the drawer and OSB for the front of the drawer. I think we went with 24.5″ x 12″ for the front and used the same 24.5″ x 22″ OSB for the drawer bottom for our RV remodel.
INSIDE THE CAMPER PREP
This is where it gets a little tricky, and sadly, I have no photos of this. I should probably have Glynn tell you this part, but he HATES computers! Basically, you have to install something for the slider hardware to screw into. If your camper is like mine, there’s nothing there for that. Make sure the camper is as level as possible both side to side and front to back before doing your RV remodel.
Measure the inside of the cabinet and measure how far down to put the supports. We used scrap 2x3s from another project for this, but you could use 1x2s if you’re confident in your carpentry skills. What’s important here is that you need to bring the sides of the cabinet out to the equal the distance of the opening. In other words, the inside of our cabinet was more like 26.5″ or 27″, so we had to add a 2×3″ on each side to make it equal 25.5″ wide. The point is, by whatever means, you need to make the distance between the sides equal to the opening at the front. Please don’t leave nasty comments…I’m a girl trying to convey something I don’t fully understand myself! 🙂
Once you’ve done that, install the slider hardware on both the inside cabinet wall and on the drawer. The ones we got were labeled CR (cabinet right) & DR (drawer right) and CL & DL respectively. Hopefully, your hardware will come with instructions as did ours.
FINISHING TOUCHES
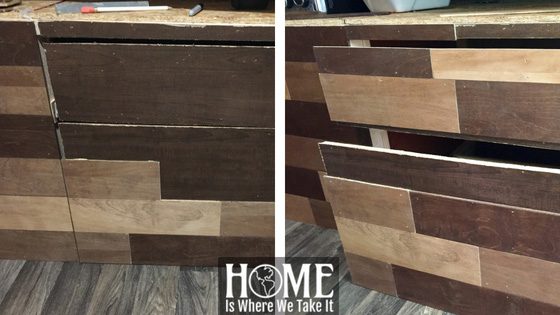
This whole post is painfully simplified, and if you’re still here you deserve a gold star! To finish out this RV remodel, I took the previously stained planks and started at the opening being sure to line up the edges as perfectly as possible. I just cut random lengths and alternated colors. My only guidelines were that I didn’t want one color touching the same color so color drove the plank length and placement. I glued the back of each plank and used 1/2″ brad nails with my Ryobi brad nailer.
When I got to the drawers, I started at the bottom and worked my way up. I matched the plank color with the one directly to the left on the cabinet then chose the next color based on how the colors all looked on that whole line and the ones touching it on all sides.
When it came to doing the gap in between the big drawer top and small drawer bottom for this RV remodel, I placed a plank in place to cover up that opening so I could place the next row. I DID NOT nail the placeholder plank in place, I just held it while I did the next row then I took it down. Once I had the easy stuff done, I got out the measuring tape and did some math.
The bottom of my small drawer had roughly an inch of exposed material and the top of the large drawer had roughly 2.5″ of exposed material there, they had about 1/2″ of space in between them. I knew my plank was 4″ high, so I measured about 1 1/4″ down on a plank and cut along that line. The saw blade width is about 1/4″ which left perfect spacing between the top and bottom drawers. I repeated this process between the top of the small drawer and the cabinet opening.
I finished facing the cabinet based on matching up colors and did the other side the same way for my RV remodel.
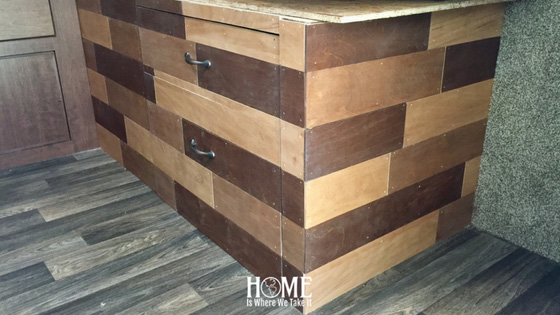
When you’re completely done with all of the facings, add handles. We talked about using a rope for handles but couldn’t find any at home (I SWEAR I had some…someone must’ve thrown it away when I wasn’t looking!) and Hobby Lobby was closed by then. We had some old handles left over from who knows which project…so those won!
Here’s the finished project. What d’ya think? I’m SUPER EXCITED about it! Can’t wait to leave on Friday to go camping!

If you’d like to see more pics of our travels and such, like my Facebook page and join the conversation. If you’d like to keep up with us and where we are minute by minute, follow us on Instagram. I like to post there when we are on trips. If you like this post, pin it on Pinterest and tell your friends about us!

Leave a Reply